Object2Vr
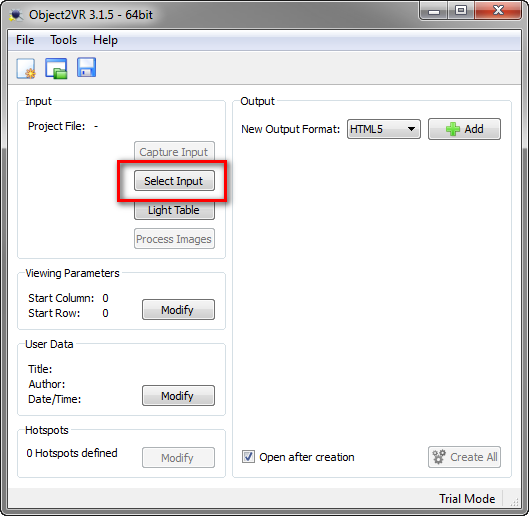
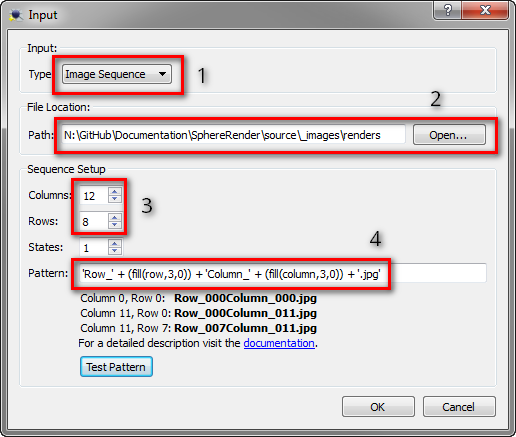
Now open up object2VR and create a new project. First click the “Select input” button. In the popup, select the Image sequence option, since we’ve just rendered and renamed the image sequence. Select the path to the folder your images are stored in and set the Columns and Rows to the amounts you’ve used in 3ds Max. After that set the correct “Pattern”. The pattern is used to recognize the images being part of a column and row structure. The pattern you use here has to match up with the output of the script. This doesn’t mean the pattern is exactly the same. If you haven’t changed the pattern in the script, you can use the following pattern in object2VR:
'Row_' + (fill(row,3,0)) + 'Column_' + (fill(column,3,0)) + '.jpg'

Find your rendered images

Specify the rows and columns and enter the naming pattern
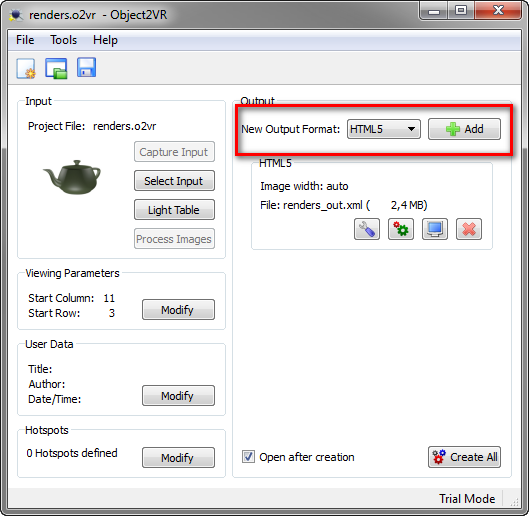
After successfully adding the input, you can create the output. the output is the rotator. Object2VR can create different types of output: flash, html5 and quicktime. You can create either one or all of them using the same images. There are lots of options here, but I’ve used the default ones. These create a perfectly suitable rotator.

Create your output